DIY Glow-in-the-Dark Bubbles – Light Up the Night with Science & Play!
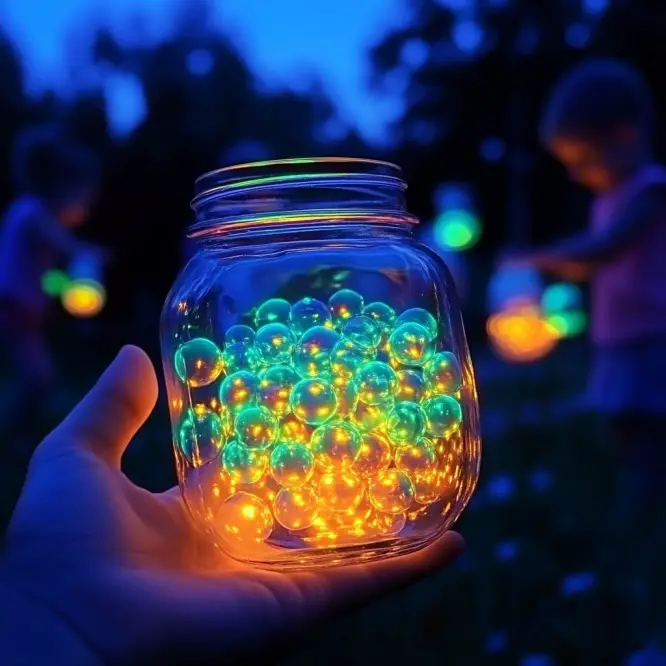
Imagine stepping outside on a warm evening, the stars beginning to twinkle above, and your backyard suddenly lighting up with floating, glowing orbs of magic. This isn’t a fantasy—it’s the fun of DIY glow-in-the-dark bubbles! Combining science and creativity, this project is perfect for kids, parties, or anyone wanting to add a little luminescence to their night. Best of all, it’s simple to do at home with safe, easy-to-find materials.
In this article, we’ll walk you through everything you need to create your own glowing bubbles, from gathering materials to understanding the science behind the glow. Let’s get glowing!
🌟 Why Glow-in-the-Dark Bubbles?
Glow-in-the-dark bubbles are more than just eye-catching—they’re an exciting way to explore chemistry, light, and phosphorescence. Unlike regular bubbles, these bubbles shine under UV light or even emit a soft glow on their own, depending on the materials used. It’s an engaging, hands-on way to learn while having fun.
🧪 Materials You’ll Need
Here’s what you need to create your own glow-in-the-dark bubble mixture:
Basic Bubble Solution:
- 1 cup of distilled water
- 2 tablespoons of liquid dish soap (like Dawn or Fairy)
- 1 tablespoon of glycerin (or corn syrup as a substitute)
Glow Additive Options (choose one):
- Non-toxic glow-in-the-dark paint (phosphorescent type)
- Highlighter ink (for use under UV/black light only)
- Tonic water (contains quinine that glows under black light)
Optional:
- UV flashlight or black light (if using highlighter or tonic water)
- Bubble wands or straws
- Mixing bowl and spoon
- Funnel and bottle for storage
🧼 Step-by-Step Instructions
Step 1: Prepare the Bubble Base
In a bowl or container, mix:
- 1 cup of distilled water
- 2 tablespoons of liquid dish soap
- 1 tablespoon of glycerin (this helps strengthen the bubbles)
Stir gently to avoid creating foam. Let the mixture sit for 1–2 hours (or overnight) to improve bubble quality.
Step 2: Add the Glow Effect
Now it’s time to add the magic:
Option A: Using Glow-in-the-Dark Paint
- Use a non-toxic, water-based glow-in-the-dark paint.
- Add 1–2 teaspoons of the paint into the bubble solution.
- Stir well until evenly mixed.
🟢 This paint absorbs light and re-emits it in the dark. Charge it under sunlight or a bright light before using the bubbles for maximum glow.
Option B: Using Highlighter Ink (UV Reactive)
- Cut open a yellow or green highlighter and remove the ink-soaked felt.
- Soak the felt in about 1/4 cup of warm water until the liquid is fully extracted.
- Add this fluorescent water to your bubble mixture.
🔦 These bubbles glow only under black light, but they glow very brightly!
Option C: Using Tonic Water (Black Light Reactive)
- Replace part of the water in the original mix with tonic water (about half).
- Mix as usual.
💡 Quinine in tonic water glows blue under UV light.
Please Head On keep on Reading (>)


