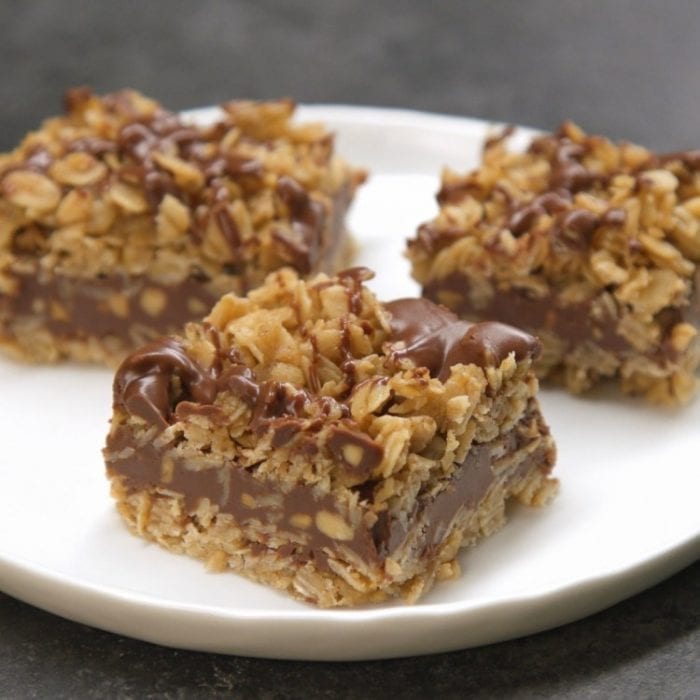
How to Make No-Bake Chocolate Oat Bars
These bars come together quickly and require just a bit of patience for chilling.
Step 1: Prepare the Oat Base
- In a medium saucepan, melt the butter over medium heat.
- Stir in the brown sugar and vanilla extract, mixing until the sugar dissolves completely.
- Add the rolled oats and cook for 2-3 minutes, stirring frequently, until the oats are slightly toasted and coated in the buttery mixture.
- Remove from heat.
Step 2: Make the Chocolate Layer
- In a microwave-safe bowl, combine the chocolate chips and peanut butter.
- Microwave in 20-second intervals, stirring after each, until the mixture is smooth and fully melted.
Step 3: Assemble the Layers
- Line an 8×8-inch baking dish with parchment paper or lightly grease it.
- Press half of the oat mixture firmly into the bottom of the dish to create an even layer.
- Pour the melted chocolate mixture over the oat base, spreading it evenly with a spatula.
- Sprinkle the remaining oat mixture over the chocolate layer and gently press it down to secure.
Step 4: Chill the Bars
- Cover the dish and refrigerate for at least 2-3 hours, or until the bars are firm and set.
Step 5: Slice and Serve
- Once chilled, remove the bars from the dish and cut them into squares or rectangles. Enjoy the perfect balance of chewy oats and creamy chocolate!
Tips for the Best No-Bake Chocolate Oat Bars
- Use Quality Chocolate: High-quality chocolate chips or baking chocolate will enhance the flavor.
- Add a Crunch: Sprinkle chopped nuts, shredded coconut, or crushed pretzels into the oat mixture for extra texture.
- Customize the Sweetness: Adjust the sugar to suit your taste or use honey or maple syrup as a natural sweetener.
- Store Properly: Keep the bars refrigerated in an airtight container to maintain their firmness and freshness.
Why You’ll Love This Recipe
- Quick and Easy: With just a few simple steps, you’ll have a dessert ready in no time.
- No Baking Required: Ideal for hot days or when you want to avoid turning on the oven.
- Perfect for Any Occasion: Great as a snack, dessert, or even a lunchbox treat.
- Customizable: Add your favorite mix-ins like raisins, chia seeds, or white chocolate chips for a personalized touch.