Step-by-Step Instructions
1. Crush the Oreos
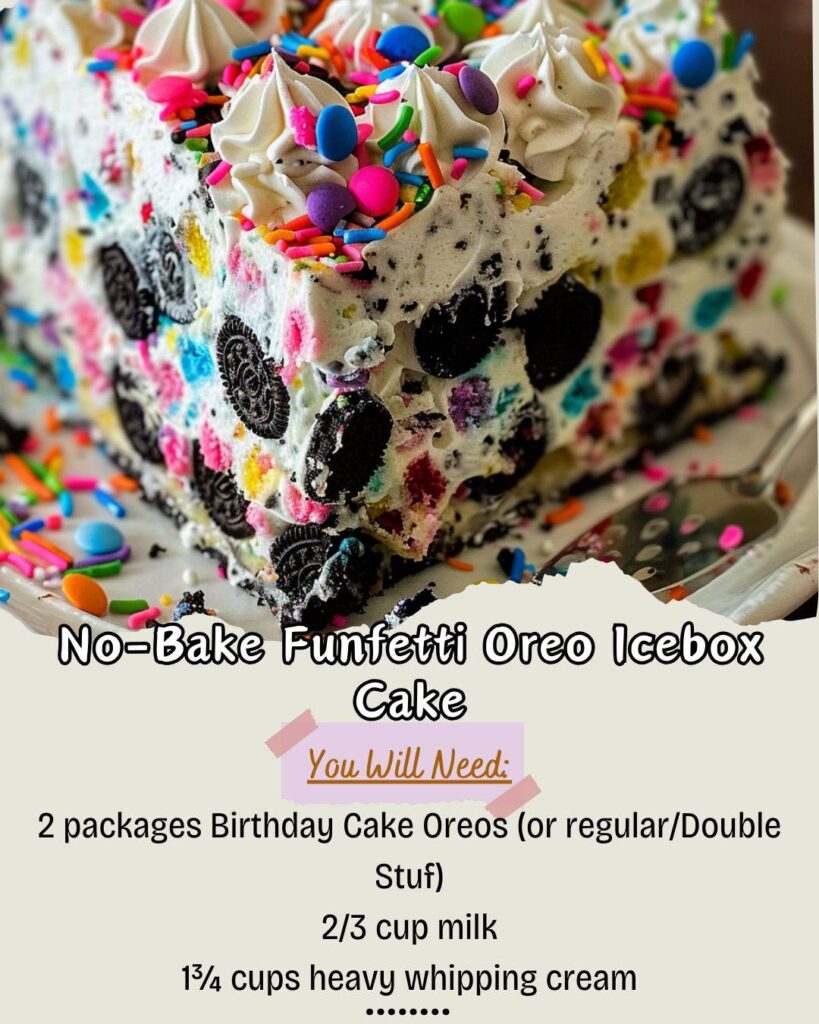
Begin by separating your Oreo cookies from their filling, if desired. Then, crush them into coarse crumbs. You can use a food processor for uniform crumbs or place them in a zip-top bag and crush with a rolling pin for a rustic texture.
2. Make the Funfetti Whipped Cream
In a large mixing bowl, whip the heavy cream until it begins to thicken. Add the powdered sugar and vanilla extract, continuing to whip until soft peaks form. Gently fold in the rainbow sprinkles, reserving a few for garnish.
3. Assemble the Layers
-
In a loaf pan or 8×8-inch baking dish, start with a layer of crushed Oreos at the bottom.
-
Spread a layer of funfetti whipped cream over the Oreos.
-
Repeat the layers, alternating Oreos and whipped cream until you reach the top of your pan. Finish with a layer of whipped cream and sprinkle with the reserved rainbow sprinkles.
4. Chill
Cover the cake with plastic wrap and refrigerate for at least 4 hours, or preferably overnight. This chilling step allows the cookies to soften and the flavors to meld beautifully.
5. Serve
Slice into generous squares or rectangles and serve chilled. Each bite delivers a delightful combination of chocolate crunch and creamy, sweet funfetti filling.
Tips for Success
-
Texture Balance: Keep the Oreo crumbs slightly coarse for crunch. Overly fine crumbs may make the layers too dense.
-
Make Ahead: This cake can be prepared a day in advance—perfect for parties.
-
Creative Variations: Add chocolate chips, drizzle melted chocolate on top, or use flavored Oreos to switch up the taste.
Final Thoughts
The No-Bake Funfetti Oreo Icebox Cake is a playful twist on a classic dessert, combining ease, flavor, and vibrant presentation. It’s a guaranteed crowd-pleaser, whether you’re celebrating a birthday, hosting a casual get-together, or simply treating yourself. No oven? No problem. This cake proves that the best desserts are sometimes the simplest—and the most colorful.


