
Quick Step-by-Step Instructions
🥣 Step 1: Pour and Whip
Pour the 1 liter of heavy cream into your mixing bowl or blender. Start beating on medium to high speed.
In the first 2 minutes, the cream will whip into soft peaks—this is whipped cream stage.
In the next 2 minutes, the magic begins! The cream separates into butterfat and buttermilk. You’ll see clumps of yellow butter forming and liquid pooling in the bowl.
🔄 Step 2: Strain the Buttermilk
Once you see the butter has fully separated, stop mixing. Pour off the liquid (that’s fresh buttermilk, and it’s great for pancakes or biscuits!).
Press the butter gently with a spoon or spatula to squeeze out more liquid.
💦 Step 3: Wash the Butter
To make your butter last longer, it’s important to remove all traces of buttermilk. Rinse the butter under very cold water, kneading it like dough to release more liquid. Repeat until the water runs clear.
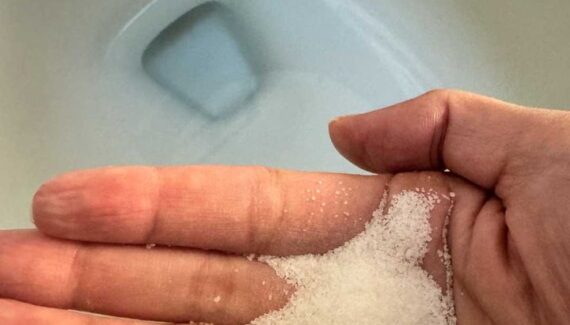
🧂 Step 4: Add Salt (Optional)
If you prefer salted butter, add about 1/4 to 1/2 teaspoon of salt and knead it in evenly.
That’s It—You Made Butter in 5 Minutes!
Transfer your fresh butter to a container, shape it into a log or pat, and refrigerate. You can even freeze it for longer storage.
Bonus Tips
-
Flavor it: Add herbs, garlic, honey, or cinnamon for gourmet compound butters.
-
Use the buttermilk: It’s perfect in muffins, pancakes, or fried chicken marinades.
-
Try shaking: If you’re doing this with kids, pour cream into a mason jar and shake it vigorously. It’ll take about 10–15 minutes, but it’s a great hands-on project.
Final Thoughts
Making homemade butter from cream is not only incredibly easy—it’s also a deeply satisfying experience. In just minutes, you go from a simple dairy product to something rich, smooth, and perfectly spreadable. Whether slathered on warm toast, melted over vegetables, or used in baking, homemade butter delivers unmatched flavor and texture.
So next time you pick up a liter of cream, skip the store-bought stuff and churn out your own little bit of kitchen magic—in just 5 minutes! 🧈✨


