How to Make No-Bake Biscuit Pudding
Follow these easy steps to create a dessert that looks and tastes like it took hours to make!
Step 1: Prepare the Creamy Pudding
- In a saucepan, whisk together the sugar, cocoa powder, and cornstarch.
- Gradually add 2 cups of milk to the mixture, whisking continuously to avoid lumps.
- Heat the mixture over medium heat, stirring constantly until it thickens into a smooth pudding-like consistency.
- Remove from heat, stir in the vanilla extract, and let it cool slightly.
Step 2: Soak the Biscuits
- Pour the remaining milk into a shallow dish.
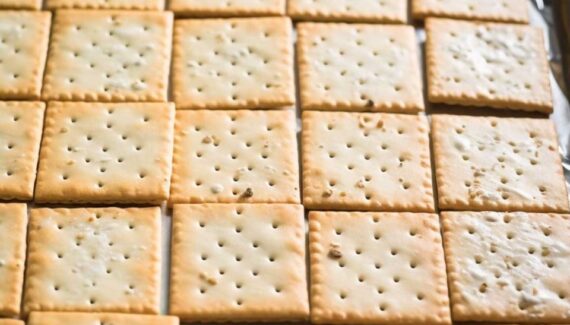
- Dip each biscuit into the milk for a few seconds (just enough to soften them without making them soggy).
Step 3: Assemble the Layers
- In a rectangular dish or a similar container, arrange a layer of soaked biscuits at the bottom.
- Spread a generous layer of the prepared pudding over the biscuits.
- Repeat the process, alternating layers of biscuits and pudding, until you run out of ingredients. The final layer should be the pudding.
Step 4: Chill and Garnish
- Cover the dish with plastic wrap and refrigerate for at least 2-4 hours (or overnight) to allow the layers to set.
- Before serving, garnish with chocolate shavings, crushed nuts, or a drizzle of chocolate syrup for an extra touch of indulgence.
Step 5: Serve and Enjoy!
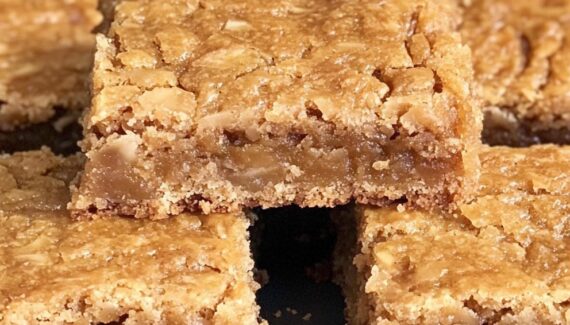
- Slice into squares or spoon out individual servings and enjoy the creamy, chocolatey goodness.
Tips for the Perfect No-Bake Biscuit Pudding
- Experiment with Flavors: Add a splash of coffee to the milk for soaking the biscuits if you’re a coffee lover.
- Use Different Puddings: Try vanilla, caramel, or even fruit-flavored puddings to mix things up.
- Make It Healthier: Use whole-grain biscuits and reduce the sugar for a lighter version.
- Chill Long Enough: Allowing the dessert to set in the fridge for a few hours is key to achieving the right texture.
Why You’ll Love This Recipe
- No Oven Required: Perfect for hot days or when you want a hassle-free dessert.
- Customizable: You can tweak the flavors, toppings, and presentation to suit your preferences.
- Quick to Prepare: With simple ingredients and minimal effort, this dessert comes together in no time.


